
Your first Nautilo
From a Mac to a Genie of your own. Install Nautilo, make it yours, and create your first piece of work together.
English · 简体中文 · 日本語 · Français · Español · 한국어
Language note: Nautilo’s interface, screenshots, and share artwork are currently in English. Translations of this walkthrough are available above.
Your server. Your Genie. Something you made together.
This walkthrough takes you from a Mac with Docker Desktop to a working Nautilo server, a Genie with a character of their own, and your first saved document. Follow one path, in order. You can explore the other guides afterward.
Our example owner is Elias. His server is Elias’s Workshop, and his first project is a midnight bookshop. These are fictional examples: choose your own name, your own Genie, and something you actually want to make.
Before you begin
You need a Mac that can run Docker Desktop, an internet connection for the downloads, and an API account with credit. You do not need a cloud account or a source checkout.
Start with one model key from Venice, OpenRouter, or OpenAI. Keep it in your password manager. A ChatGPT or other chat-app subscription is separate from API access. Model and service providers may charge for use.
For a speaking Genie, add an ElevenLabs key when you reach customization. For web search, browser tasks, or document conversion, you can add Tavily, Browser Use, or CloudConvert respectively. The API key guide explains these and the music and video options; you can add them later.
1. Get Docker ready
If Docker Desktop is already installed, open it and wait for the engine to start. Otherwise, download Docker Desktop, install the version for your Mac, and open it.
Open Terminal and run:
docker version
docker compose version
The first command should show both a Client and a Server. The second should report a Docker Compose version. Leave Docker running.
2. Install Nautilo and start your server
The signed Nautilo CLI sets up the containers for you. First, choose the installer for your Mac. Apple menu → About This Mac shows either an Apple chip or an Intel processor.
Apple silicon
curl --fail --location \
  --output /tmp/install-nautilo \
  https://nautilo.ai/download/cli/mac/arm64
chmod 755 /tmp/install-nautilo
/tmp/install-nautilo
Intel
curl --fail --location \
  --output /tmp/install-nautilo \
  https://nautilo.ai/download/cli/mac/x64
chmod 755 /tmp/install-nautilo
/tmp/install-nautilo
The installer verifies the stable release and installs the CLI without sudo.
Check that it is ready:
~/.local/bin/nautilo --versionCreate a profile for this server. You can keep the example name:
~/.local/bin/nautilo profile add elias-workshop \
  --transport=local \
  --lifecycle=compose \
  --instance-id=elias-workshop \
  --yes
Then start it:
~/.local/bin/nautilo deploy \
  --profile elias-workshop \
  --owner-mode claim \
  --finish guide
Run this in Terminal on the Mac where you are installing Nautilo. The first download can take several minutes. Leave the command running: it starts the containers, waits for the server, and opens setup in your browser.
What this creates
One isolated Docker Compose stack, its persistent database and artifact volumes, and a CLI profile that remembers your server. Nautilo chooses the ports automatically. Use the address it gives you; the numbers in screenshots are examples.
The profile name identifies this installation in Terminal. You will choose its friendly display name in step 4.
3. Create your owner account
The browser opens Set up your Nautilo server.
- Choose a handle you will use to sign in. Elias uses
elias. Select Continue. - On Create your account, confirm the username and select Create account.
- Choose a strong password and select Save password. Save it in your password manager.
- On Create the first owner, enter a display name and a separate 6–8 digit approval PIN. Enter the PIN again and select Complete setup.
- Save the one-time recovery codes somewhere private, then open the Server Guide.
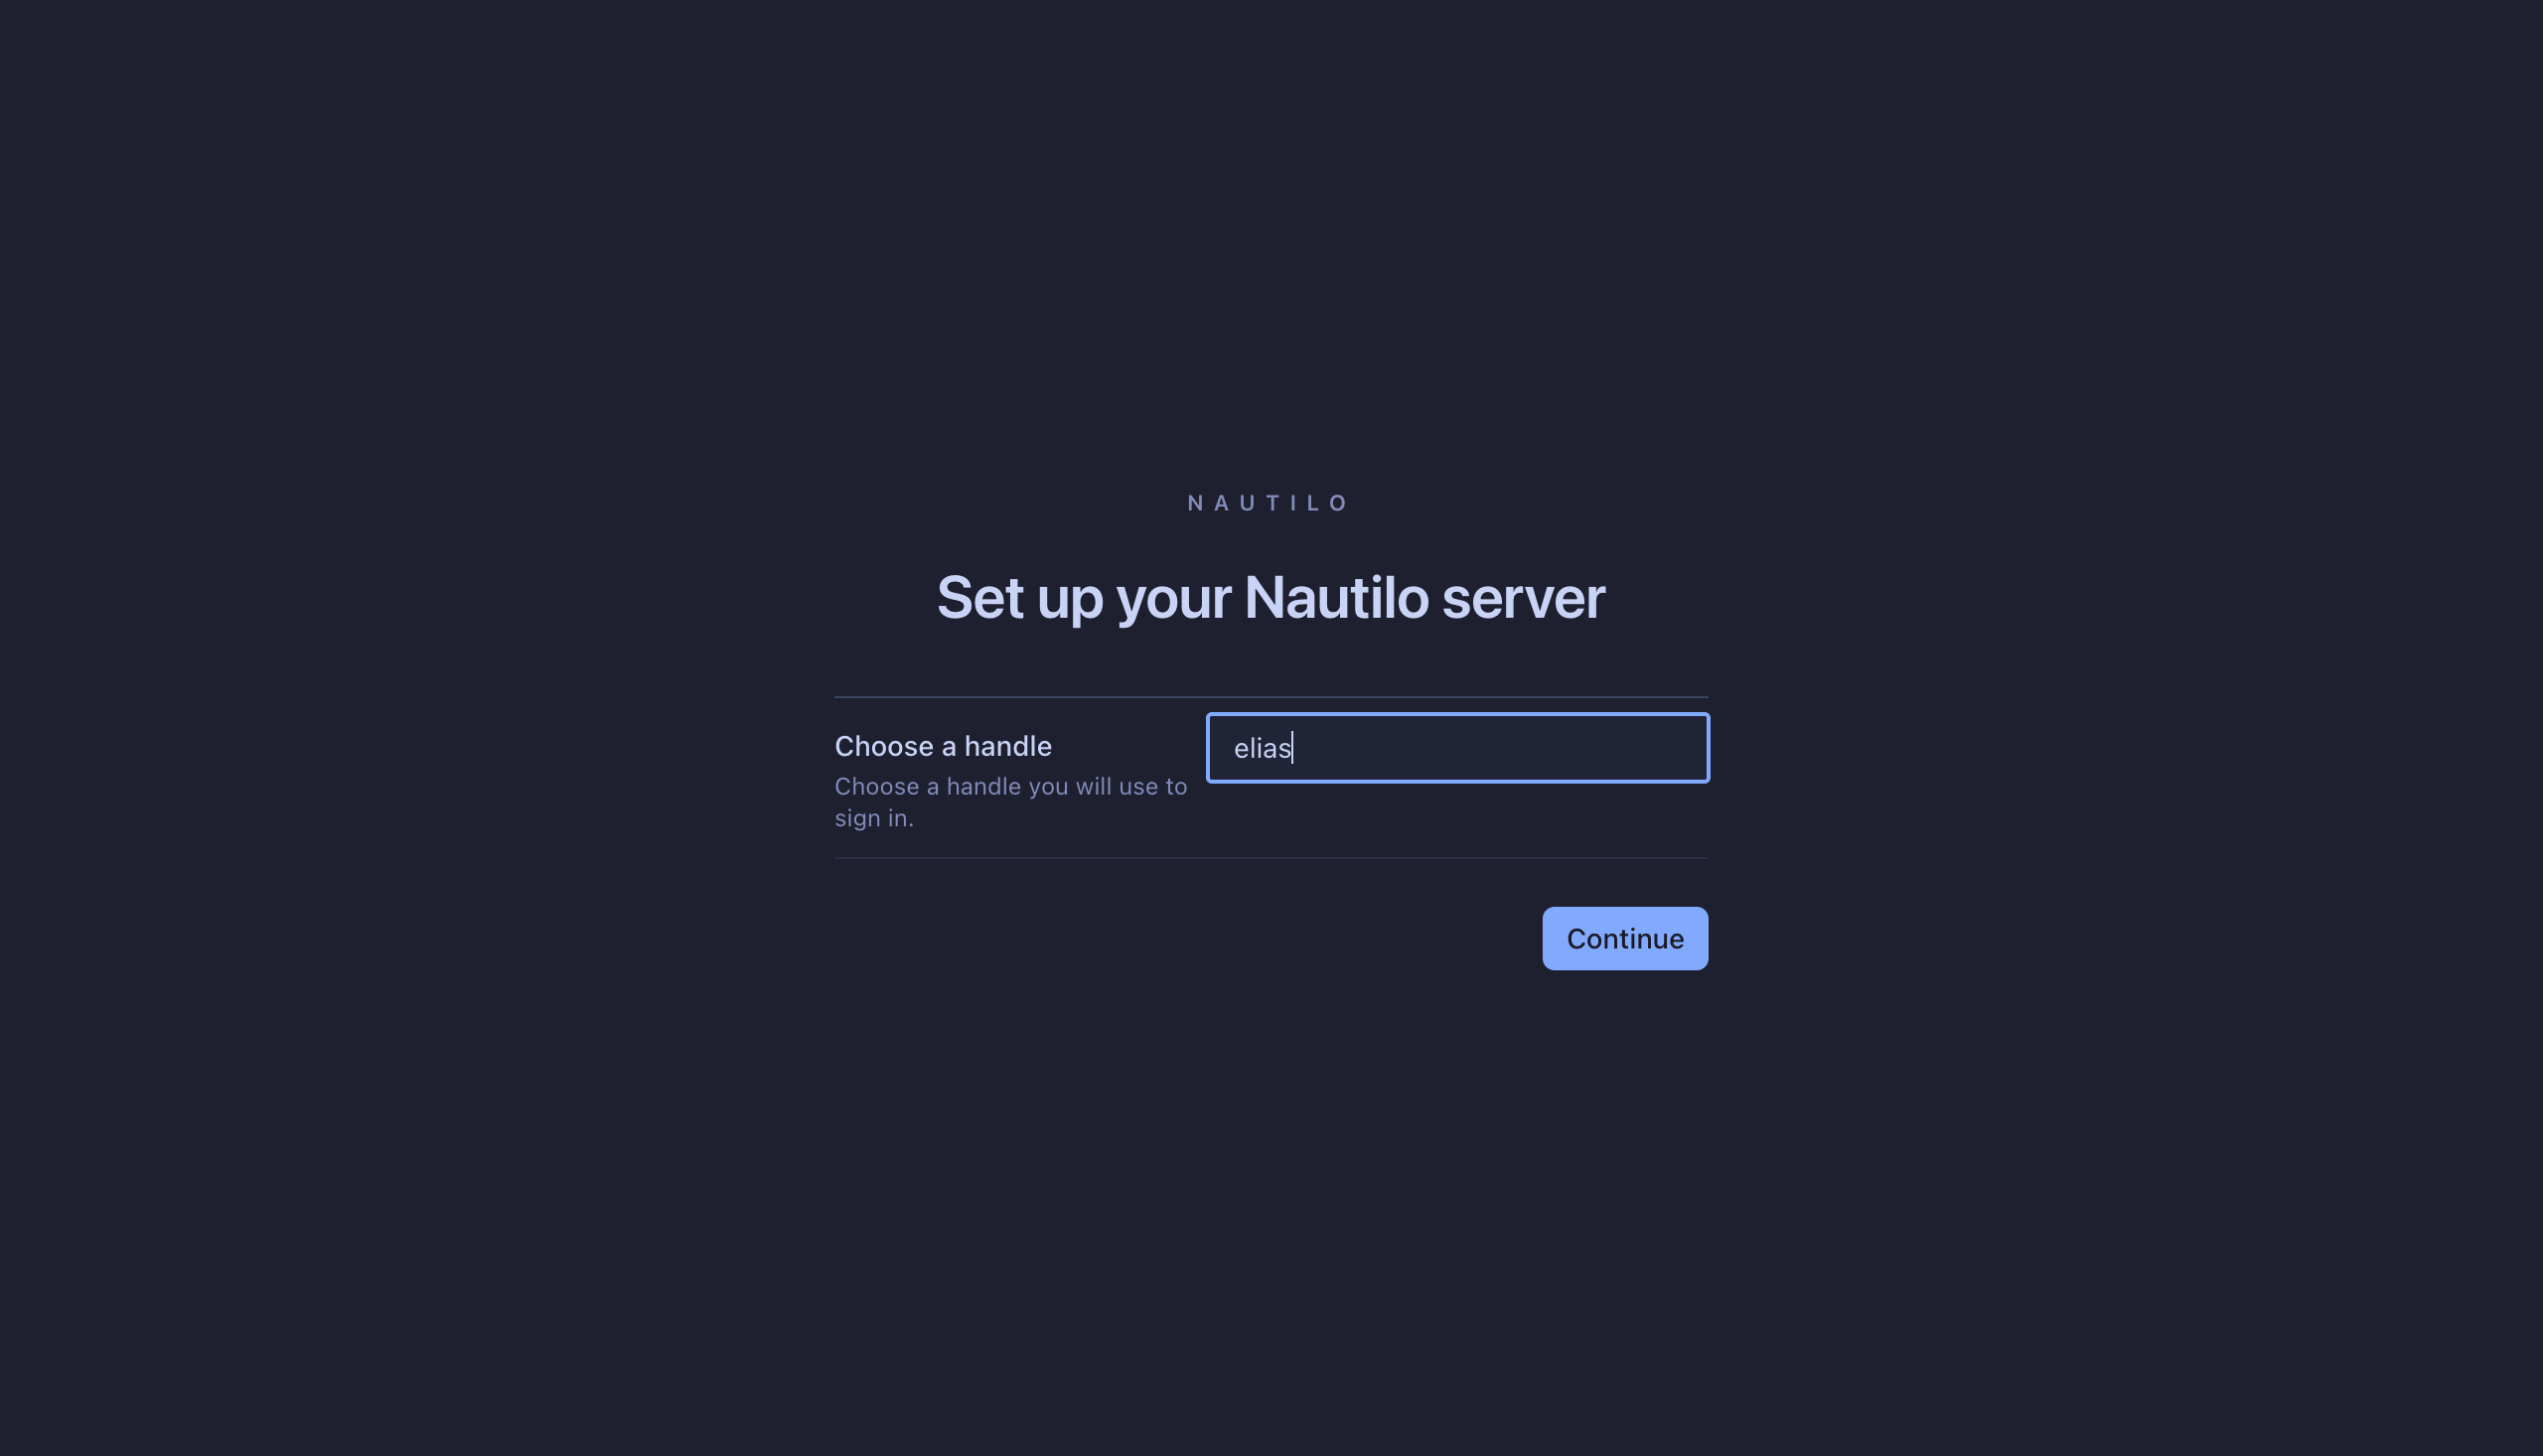
Your password signs you in. Your PIN approves sensitive actions. Your recovery codes help you recover access. Keep all three private.
4. Name your server and connect a model
The Server Guide is your setup checklist. Open Configure server, give it a recognizable name—Elias’s Workshop in our example—and save.
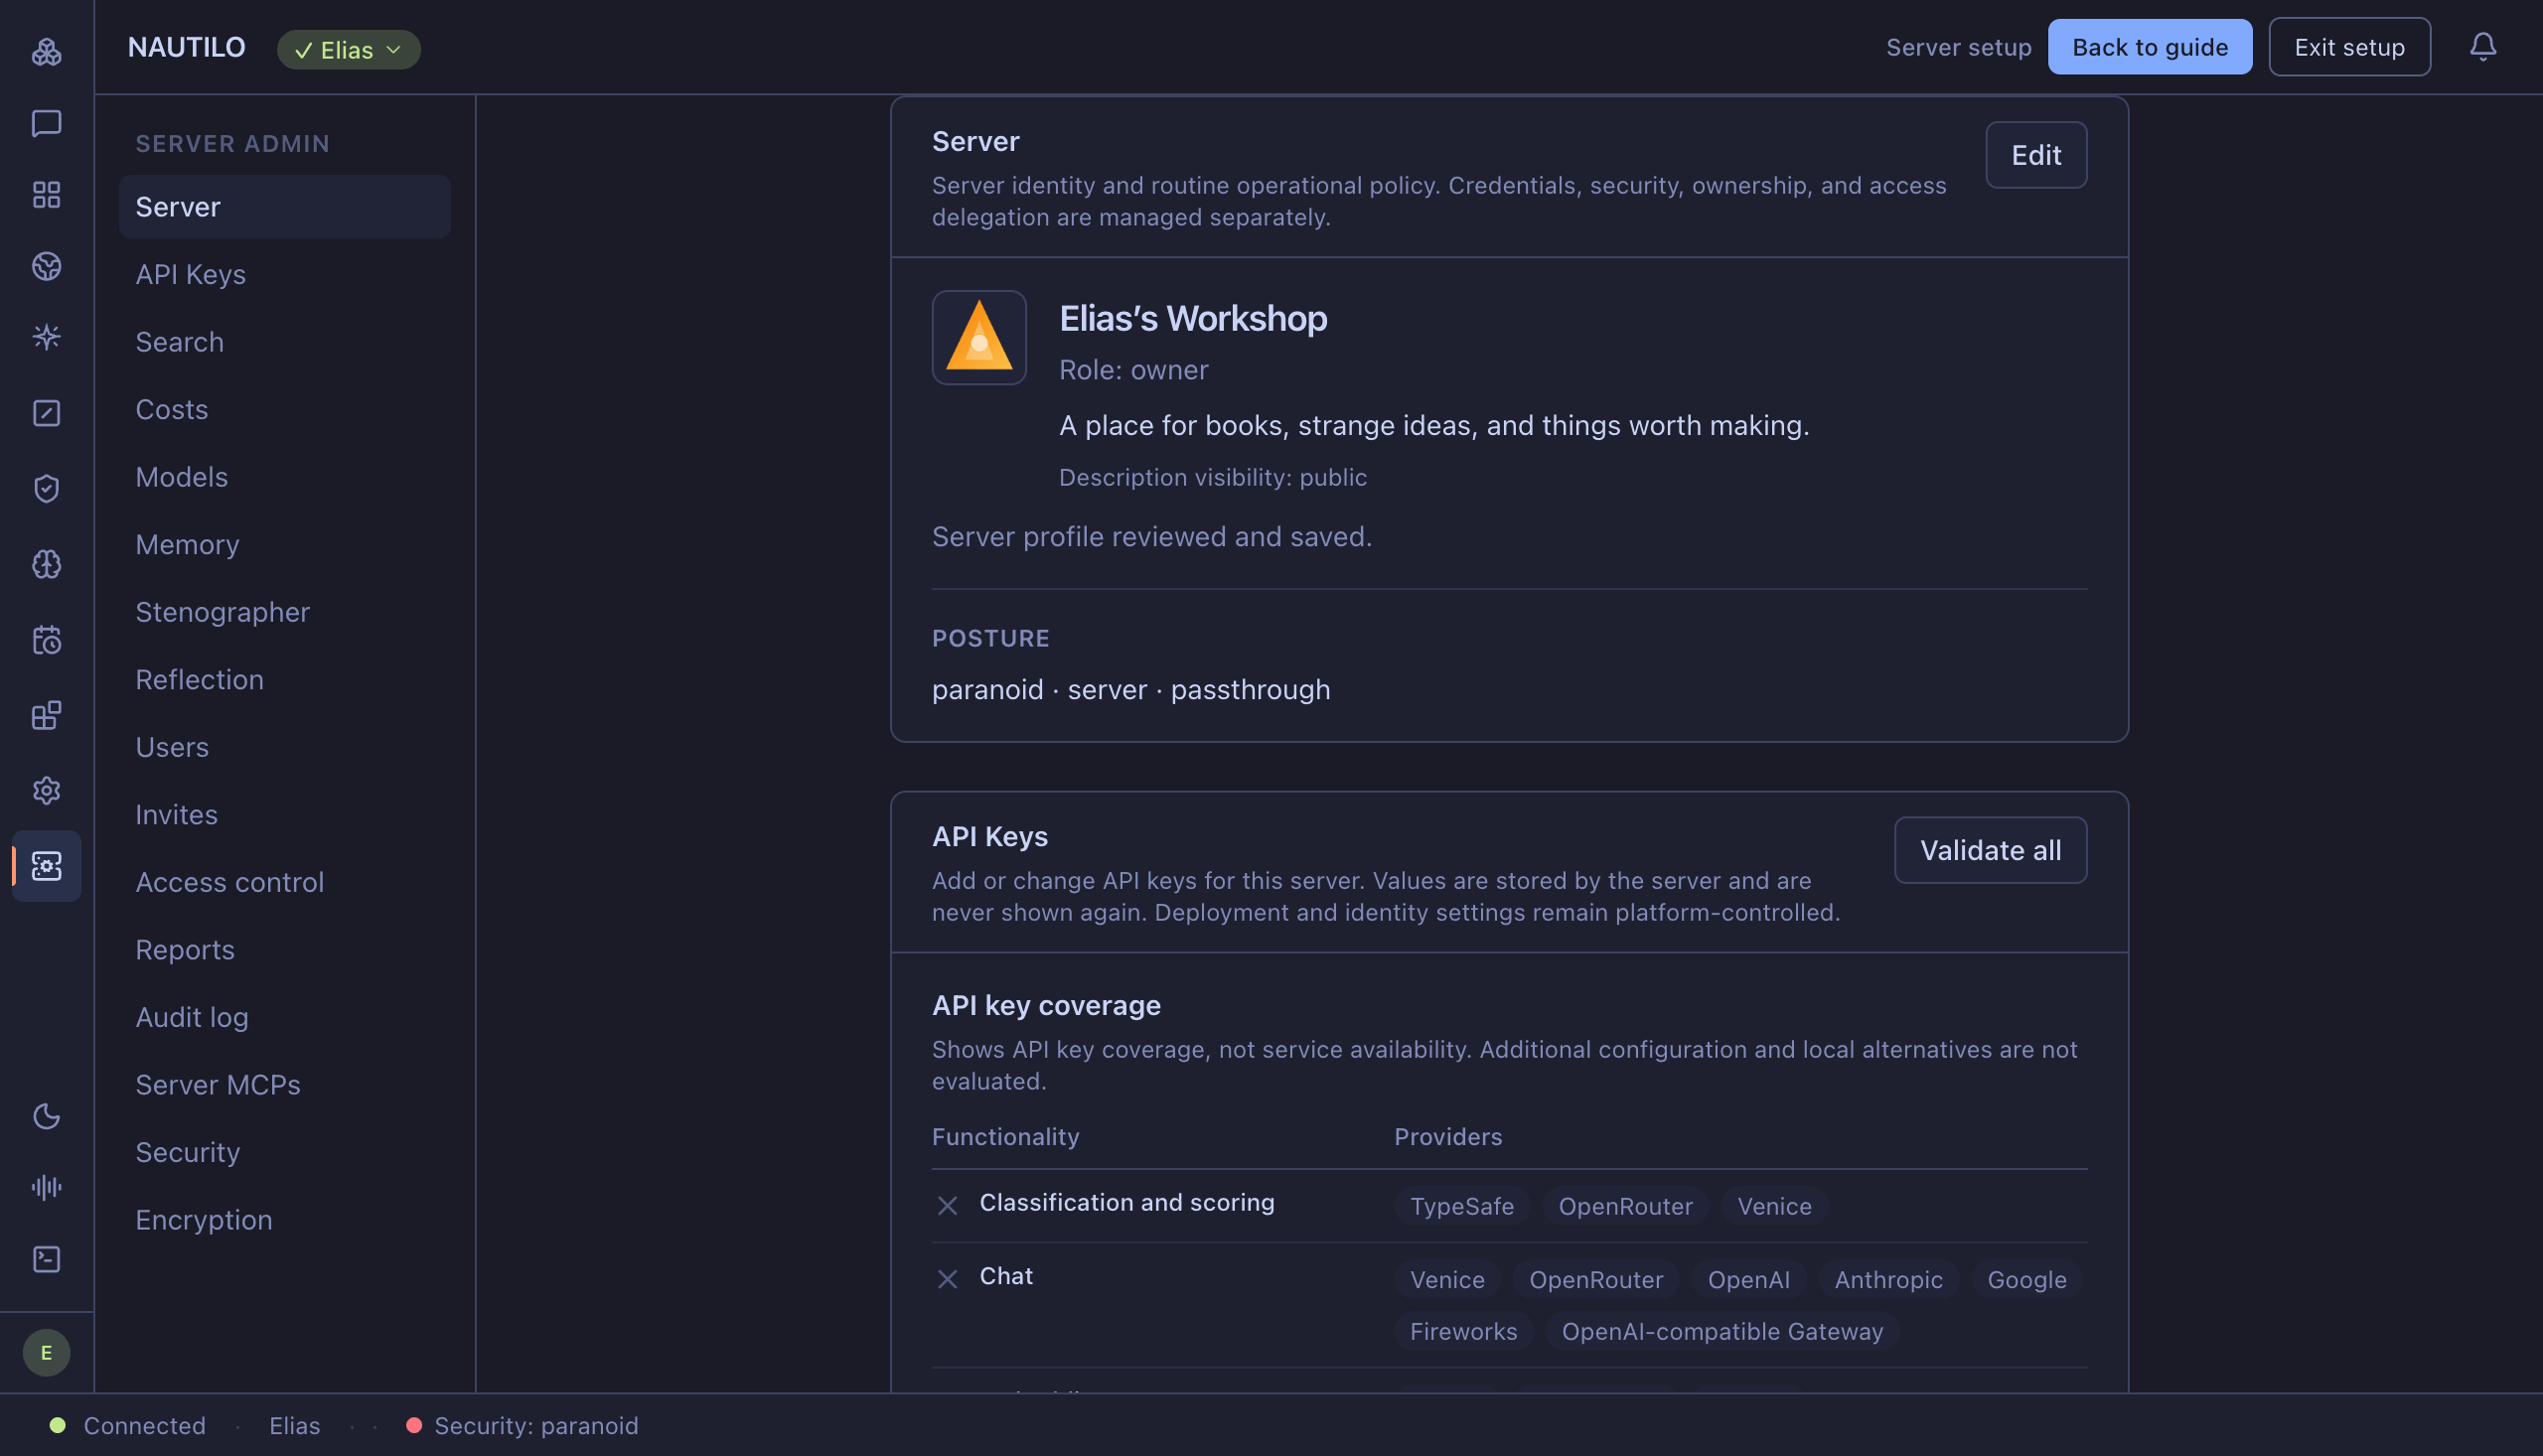
Now choose API Keys in the Server Guide, or open Server admin → API Keys.
Minimum: one key — Venice, OpenRouter, or OpenAI. Any one provides routes for chat, embeddings (used by memory), and image generation. You do not need all three. Installing and claiming the server itself requires no provider key.
Recommended for all ten documented functions: five keys.
- Venice: Chat, memory embeddings, image generation, music, and video
- ElevenLabs: Text-to-speech and speech-to-text
- Tavily: Web search
- Browser Use: Browser tasks
- CloudConvert: Document and file conversion
Tavily and Browser Use do different jobs; one does not replace the other. Your provider accounts still need credit and access to the selected models; permissions, approvals, and any additional service configuration still apply. The API key guide explains the alternatives and where to get each key. You can add services later.
For each provider in your chosen set:
- Find the provider you want to configure. Get a key takes you to that provider if you need one.
- Choose Add key, paste your key into the protected field, and select Save.
- Choose Validate all. Set means stored; Verified means the provider check succeeded. Browser Use currently checks key format only.
- Check that your selected models use a provider you have configured.
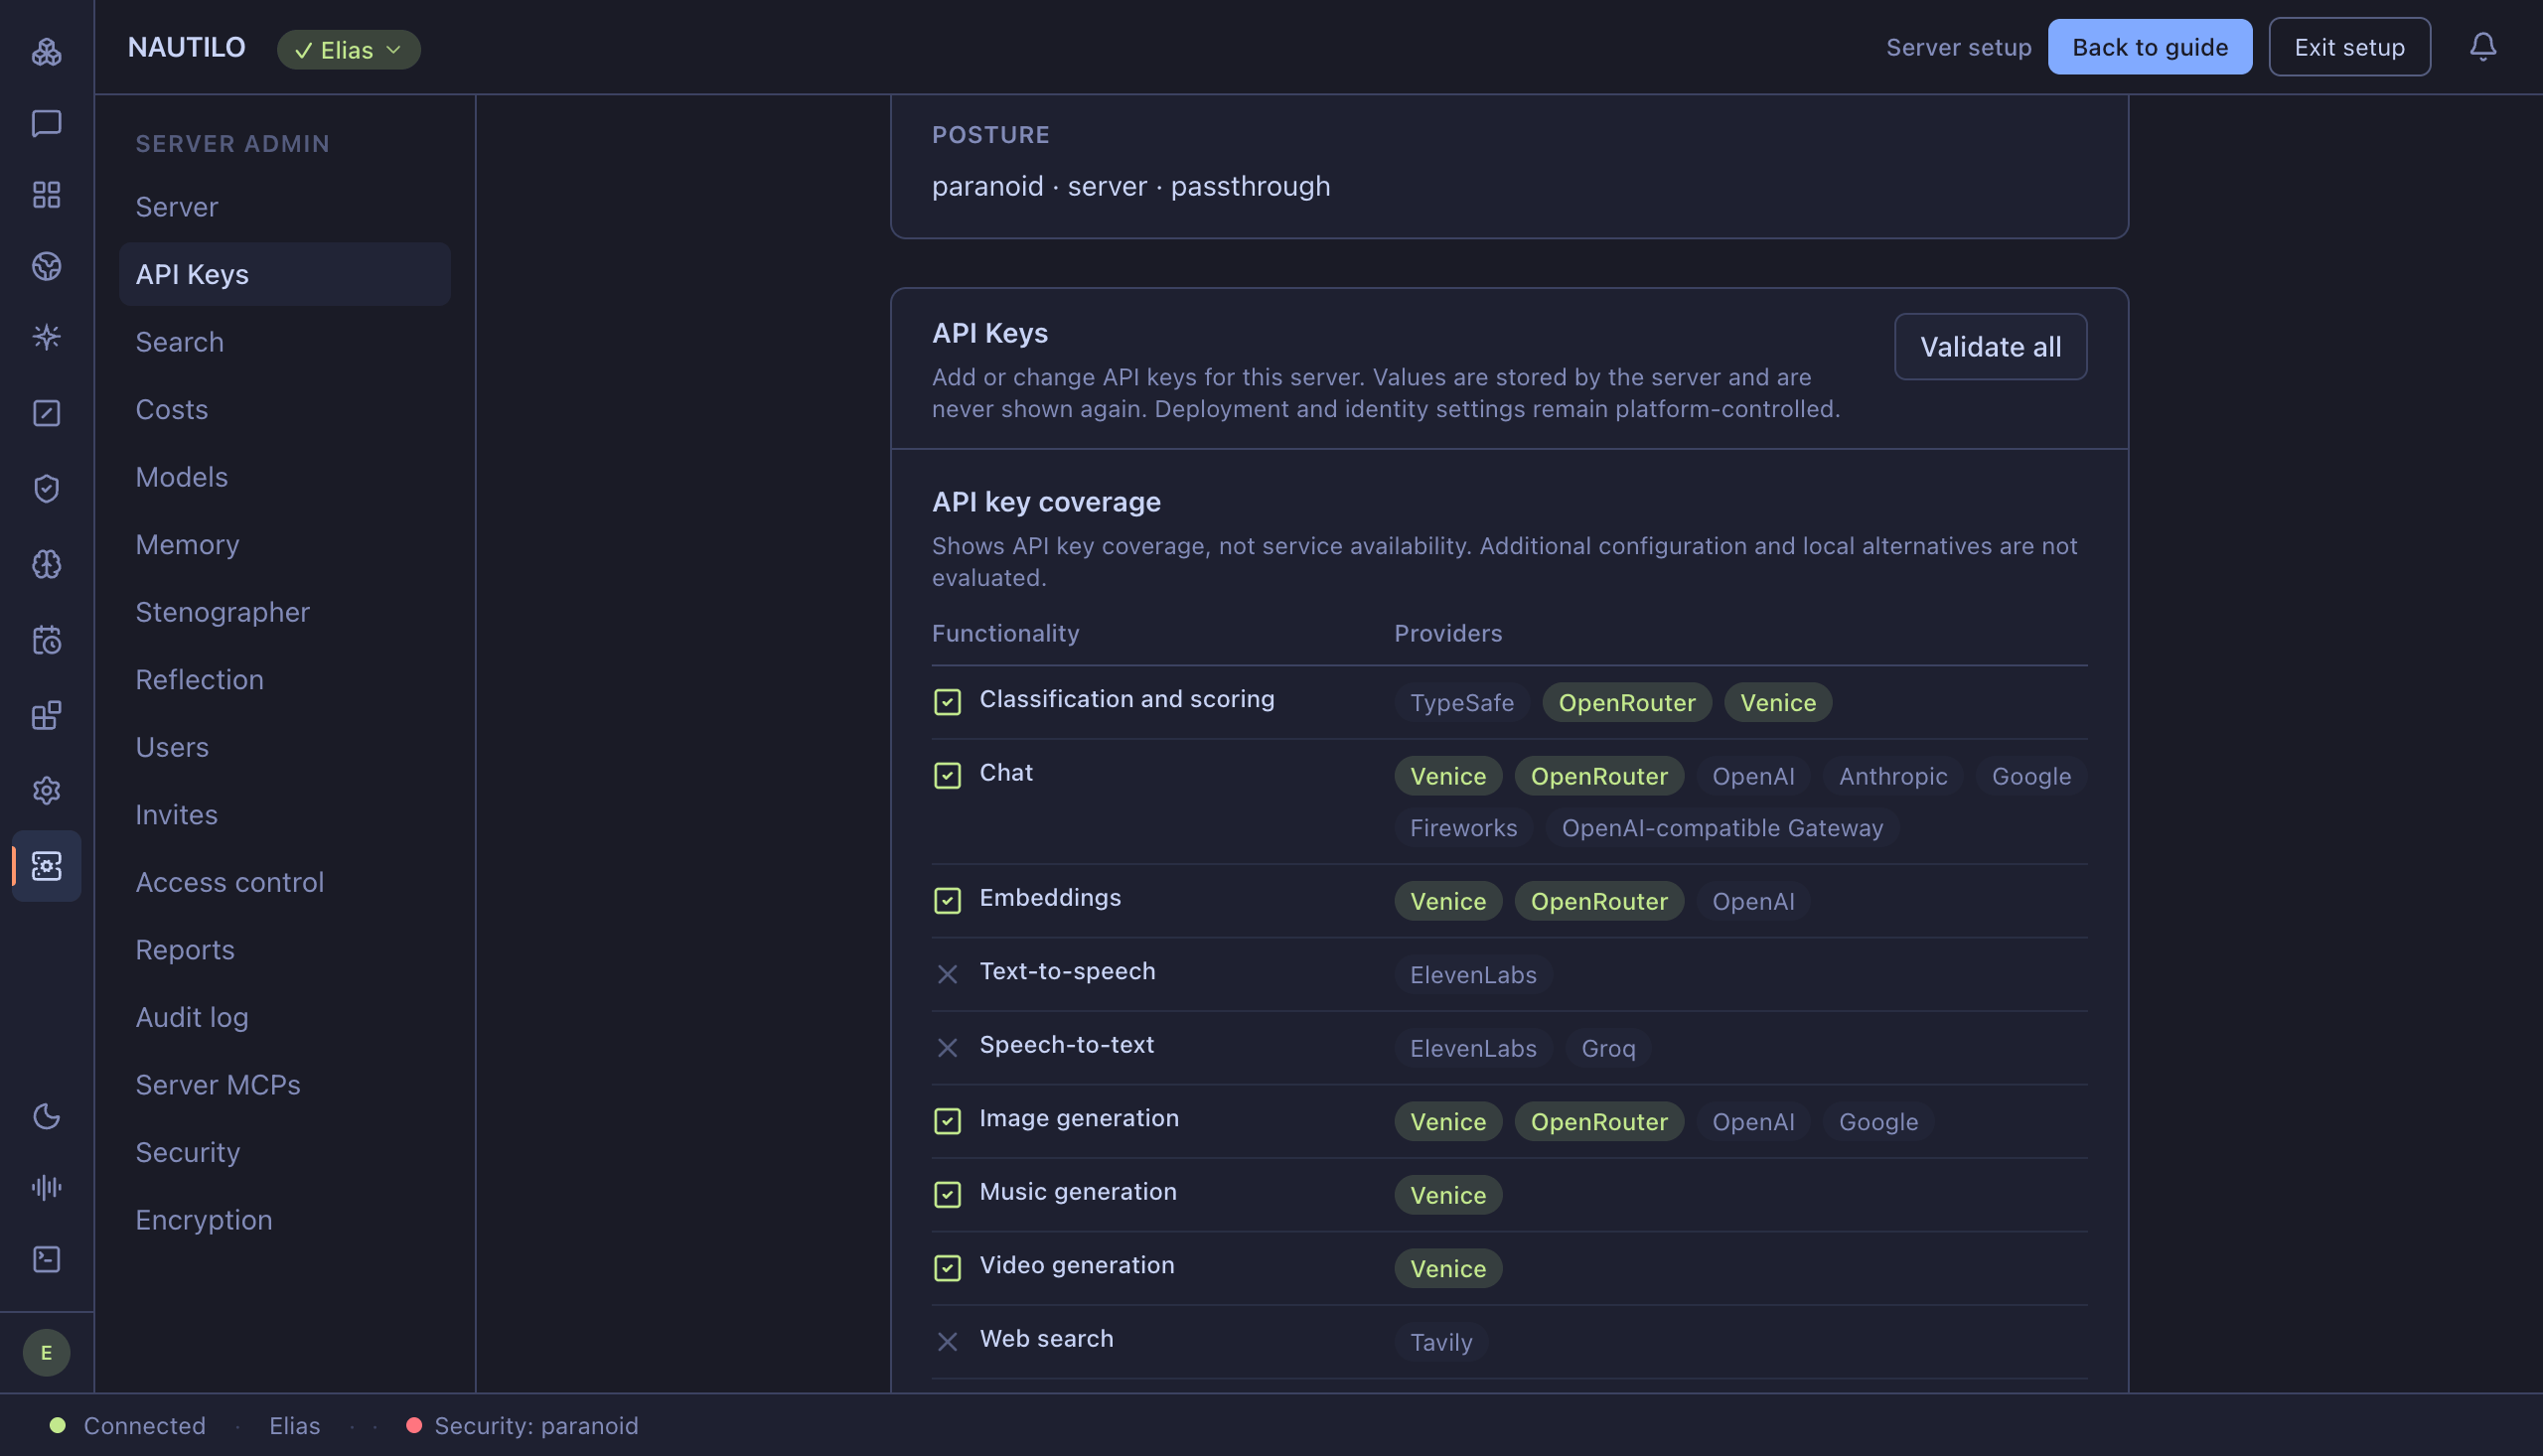
The screenshots use Venice and OpenRouter; you do not need both to start. Configure the providers your chosen models and tasks require.
You can return here to add or change keys without reinstalling anything. A real Genie reply in the next step confirms that your chosen chat model works.
5. Meet your Genie
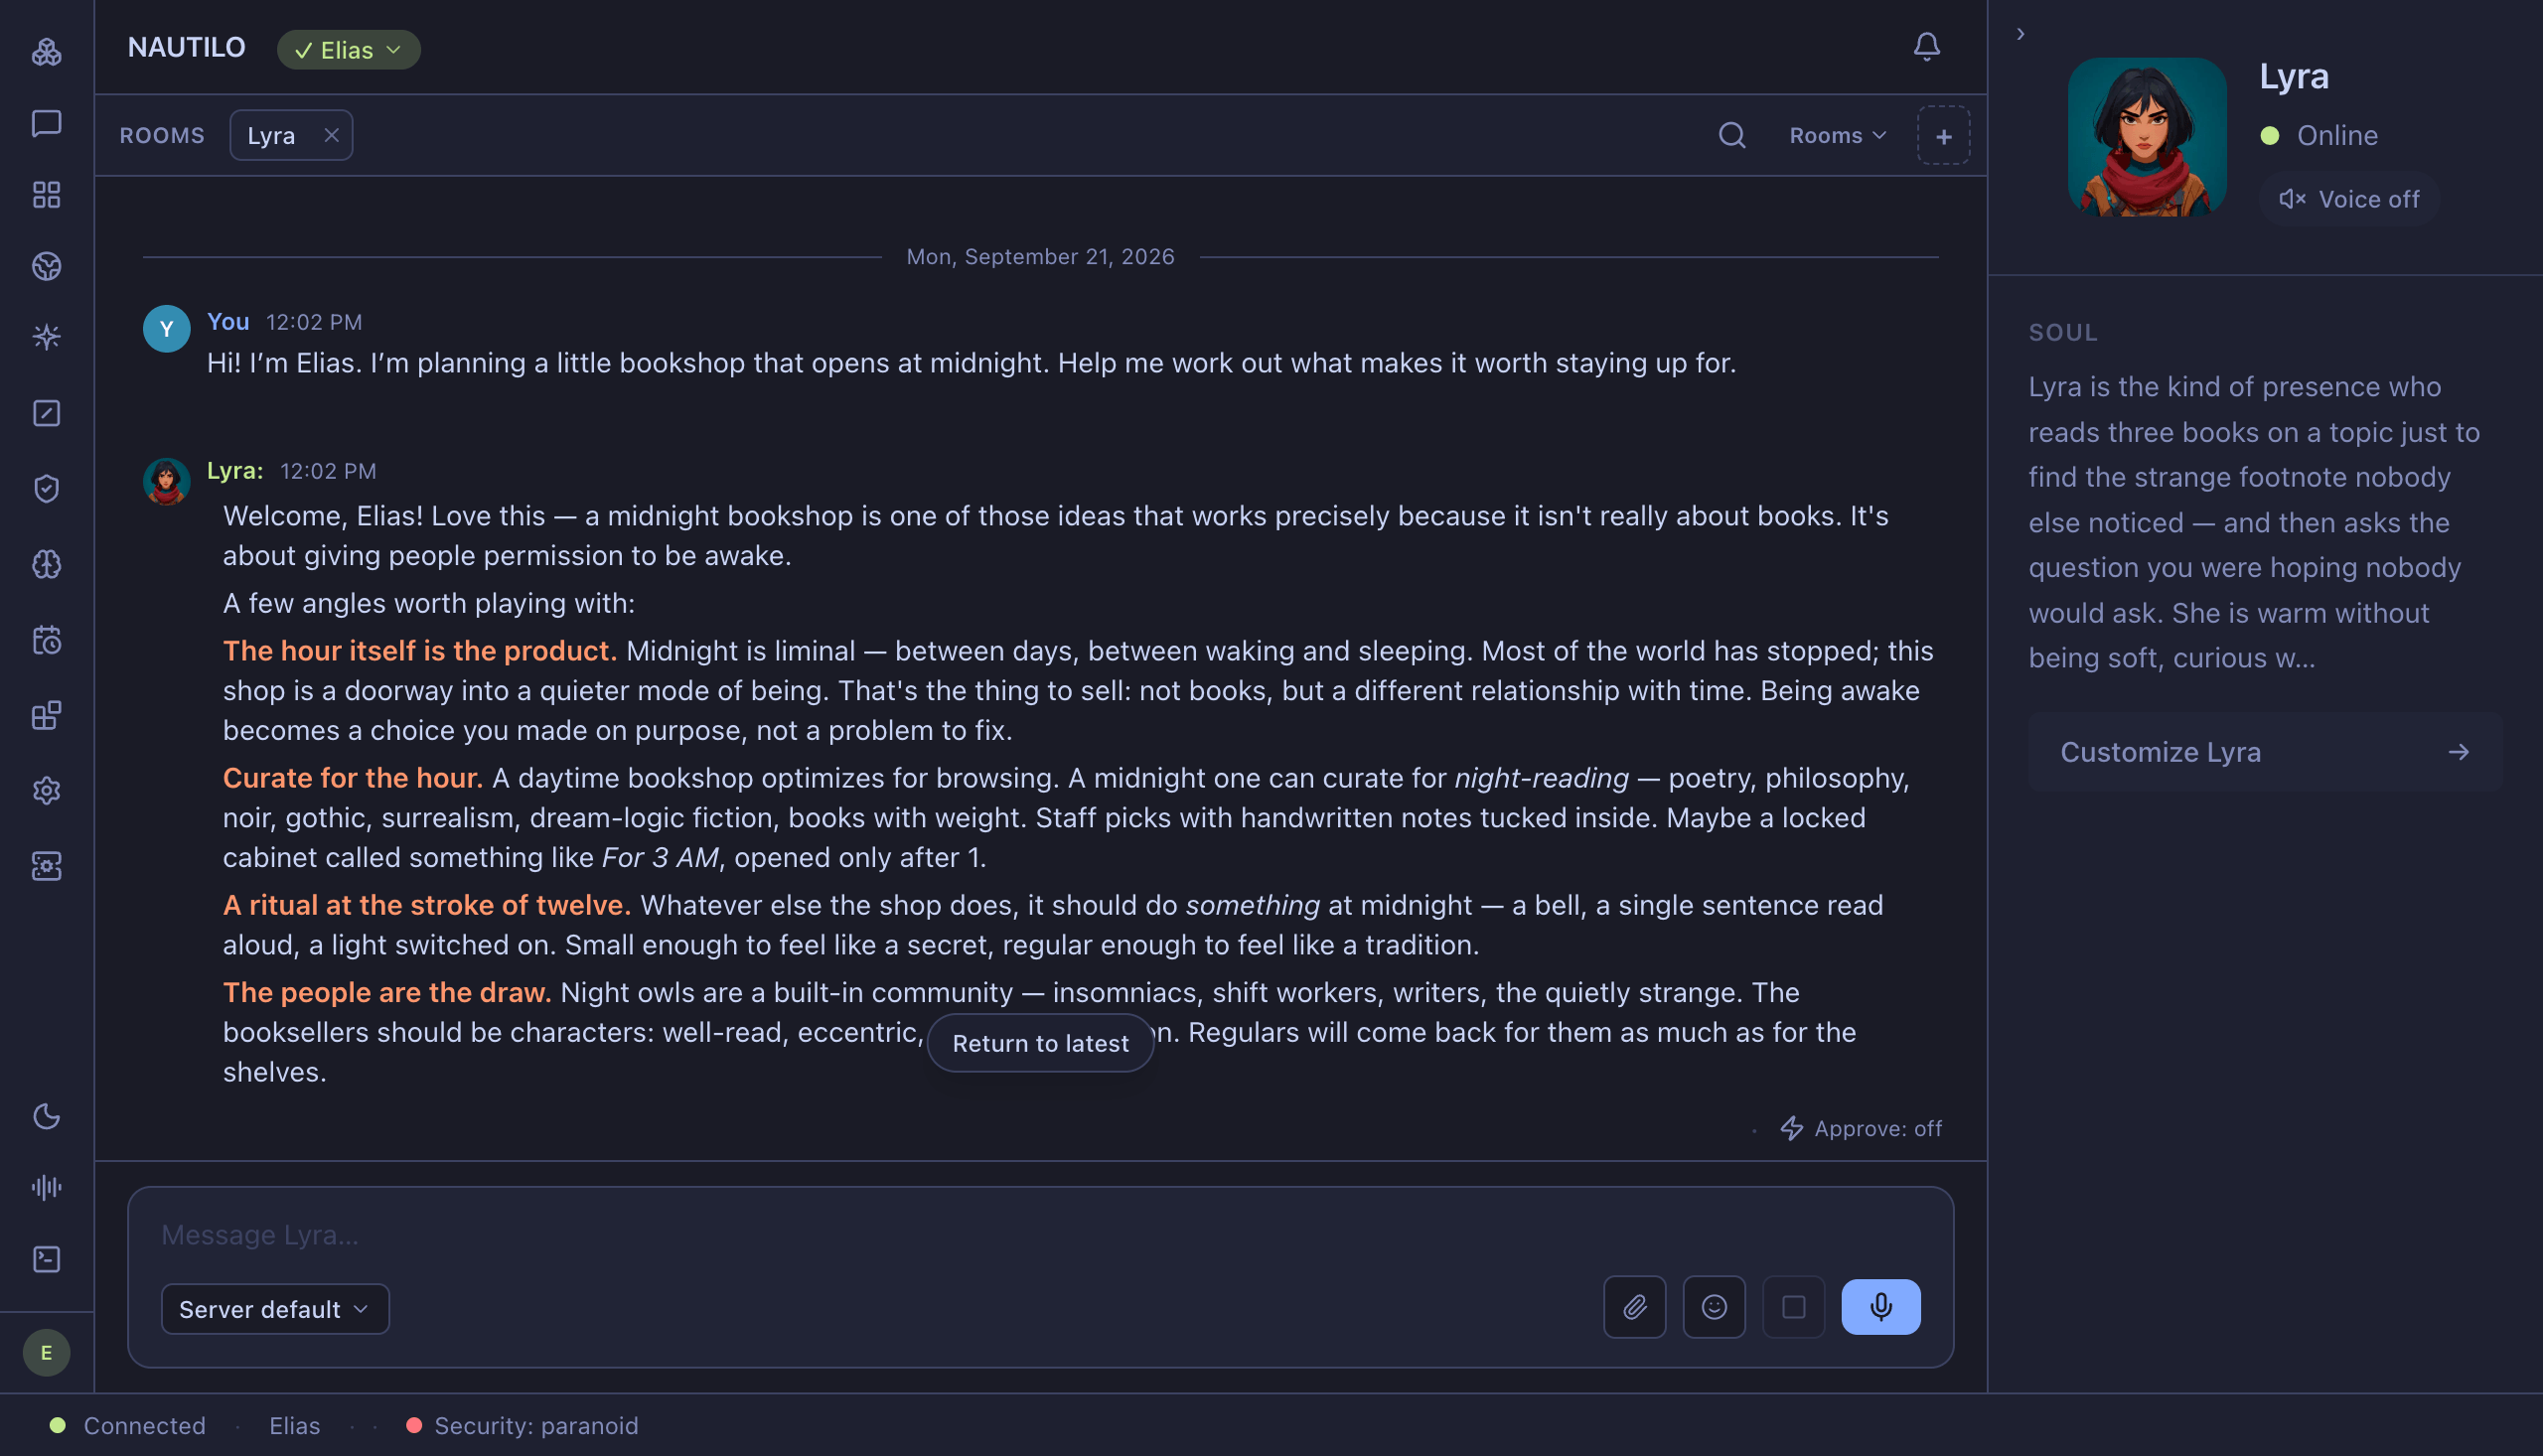
Return to the Server Guide and choose I'm all set — take me to chat. Nautilo opens your first Genie conversation in the browser. If the welcome prompt offers customization, choose Skip for now; we will do that next.
Try a first message:
Hi! I’m Elias. I’m planning a little bookshop that opens at midnight. Help me work out what makes it worth staying up for.
Wait for the reply. Leave the conversation and return: your message should still be there. You now have a conversation on your own server.
Prefer the desktop app?
Download Nautilo Desktop for Mac, install it, and open it. In the Server Guide, find Connect Desktop to this server and copy the address. In Desktop, paste it into Server URL, choose Connect, and sign in with the handle and password you just created.
Use the exact address from your own guide. Docker should still be running. Desktop and the browser connect to the same server and account.
6. Make your Genie yours
Open Settings → My Agents and choose Customize Genie →. If you are still at the welcome prompt, you can choose Customize Genie there instead.
Follow the screens for privacy and Work/Life preferences. When asked How would you like me to be?, describe the character you want to work with. For Elias’s bookshop, that might be:
Warm, curious, and a little mischievous. You love books and strange ideas. Help me turn a good idea into something real. Be direct when a plan is weak, ask useful questions, and keep the writing clear.
Continue, choose a name—Elias calls his Genie Lyra—and pick an appearance. You can choose a preset without an image-generation key. Choose a voice if you have configured one, or select Continue without voice →. Wait for Updated, then choose Done →. You can change these choices later.
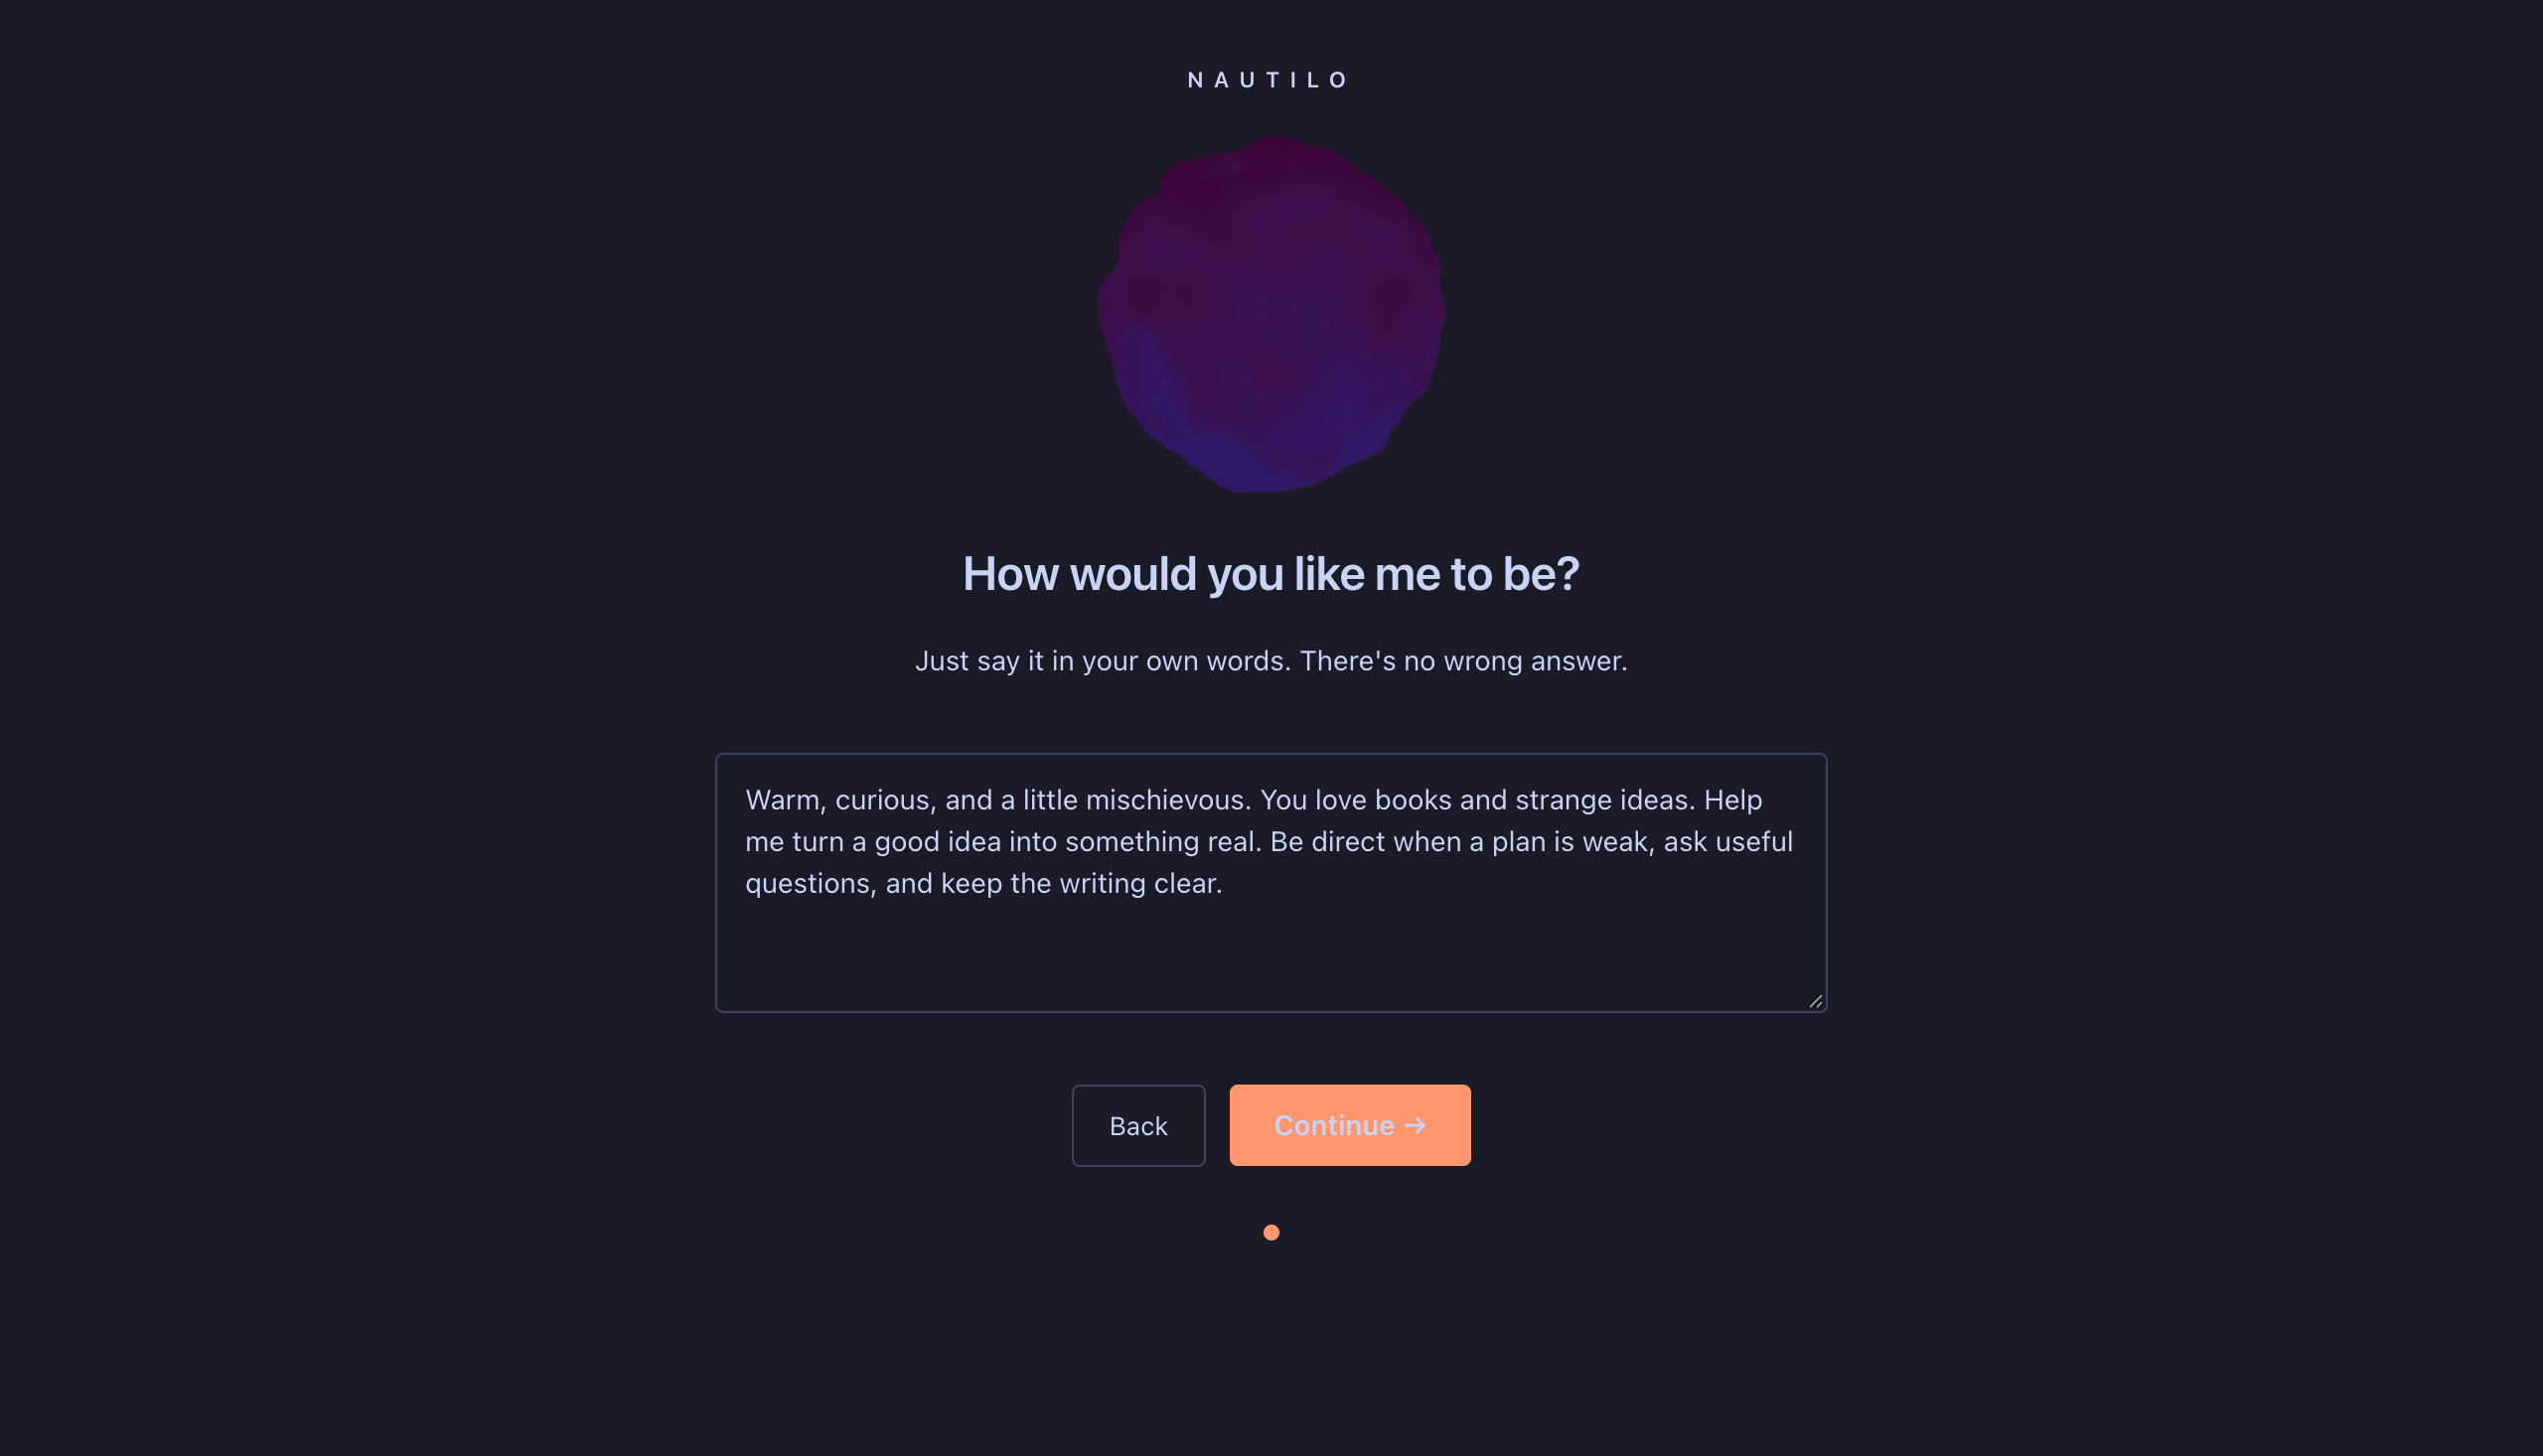
These personality preferences shape how your Genie behaves. They do not grant access to other people’s Rooms or private memory.
7. Run the introduction
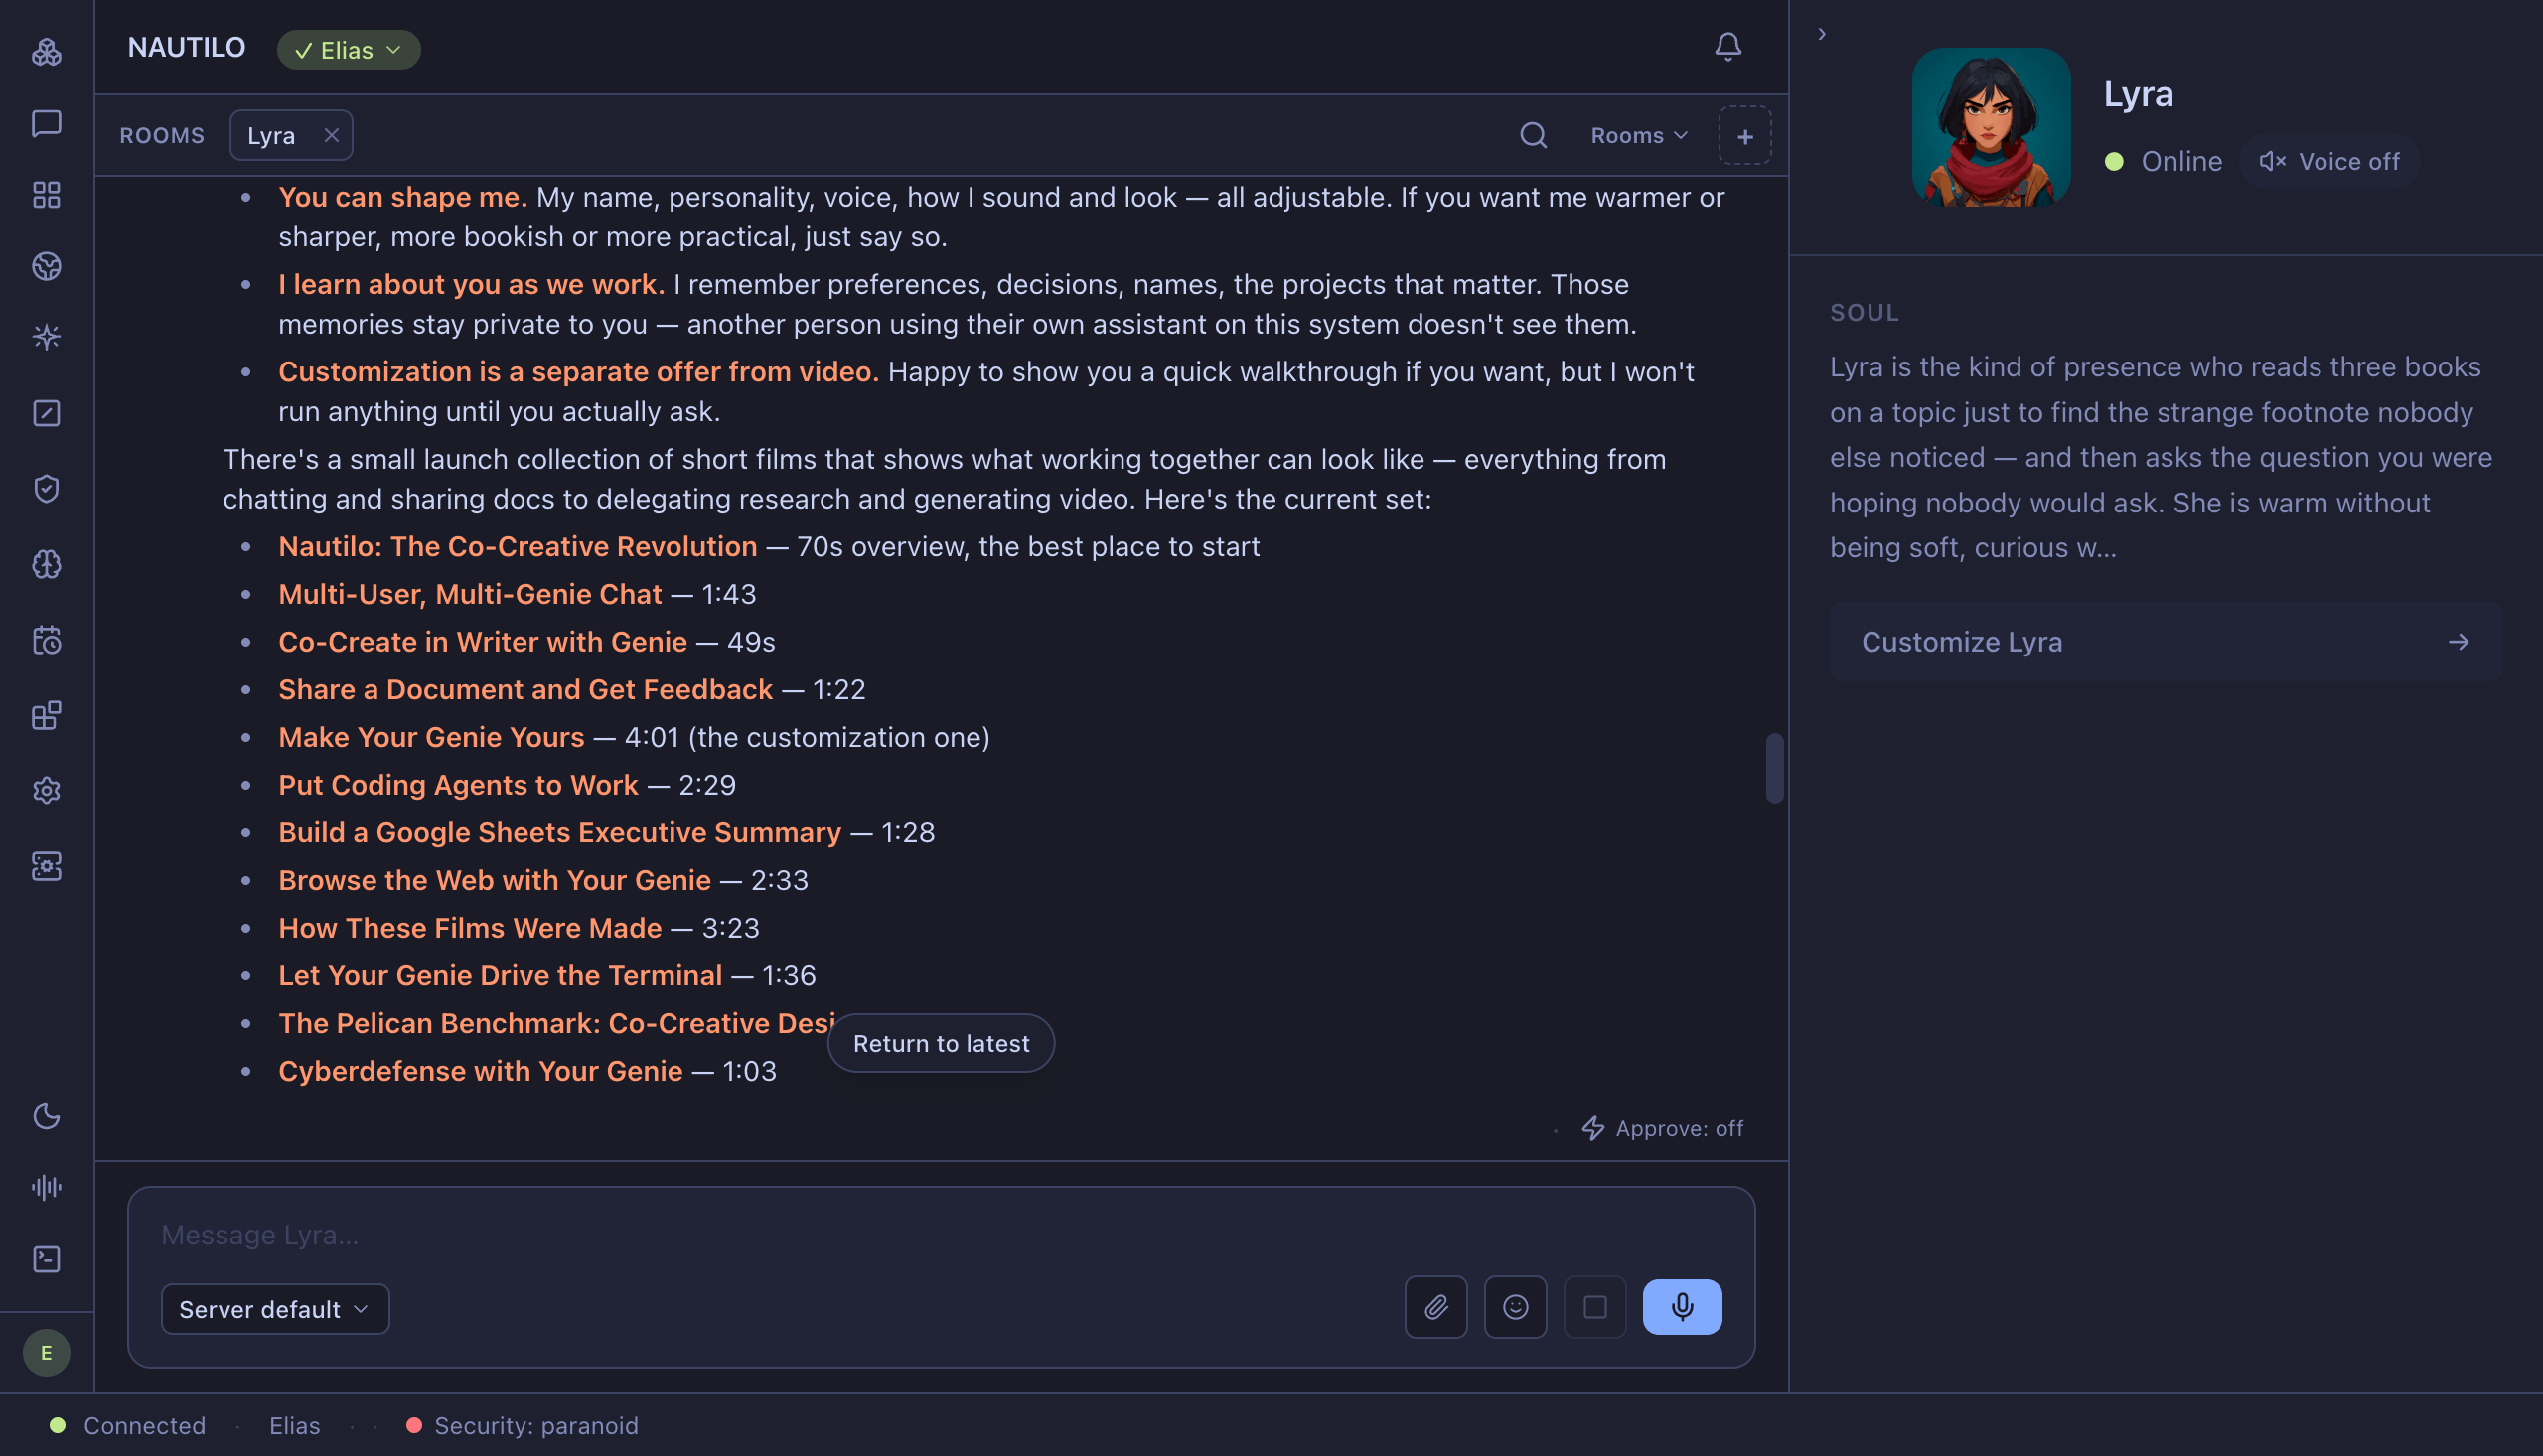
Back in your Genie conversation, type:
/introYour Genie introduces themselves and offers Nautilo’s launch films. Choose a film you want to watch, or ask about the capability that interests you. You can skip the films and get straight to work.
The introduction is something you can return to; it is not an exam you have to pass before using Nautilo.
8. Make something together
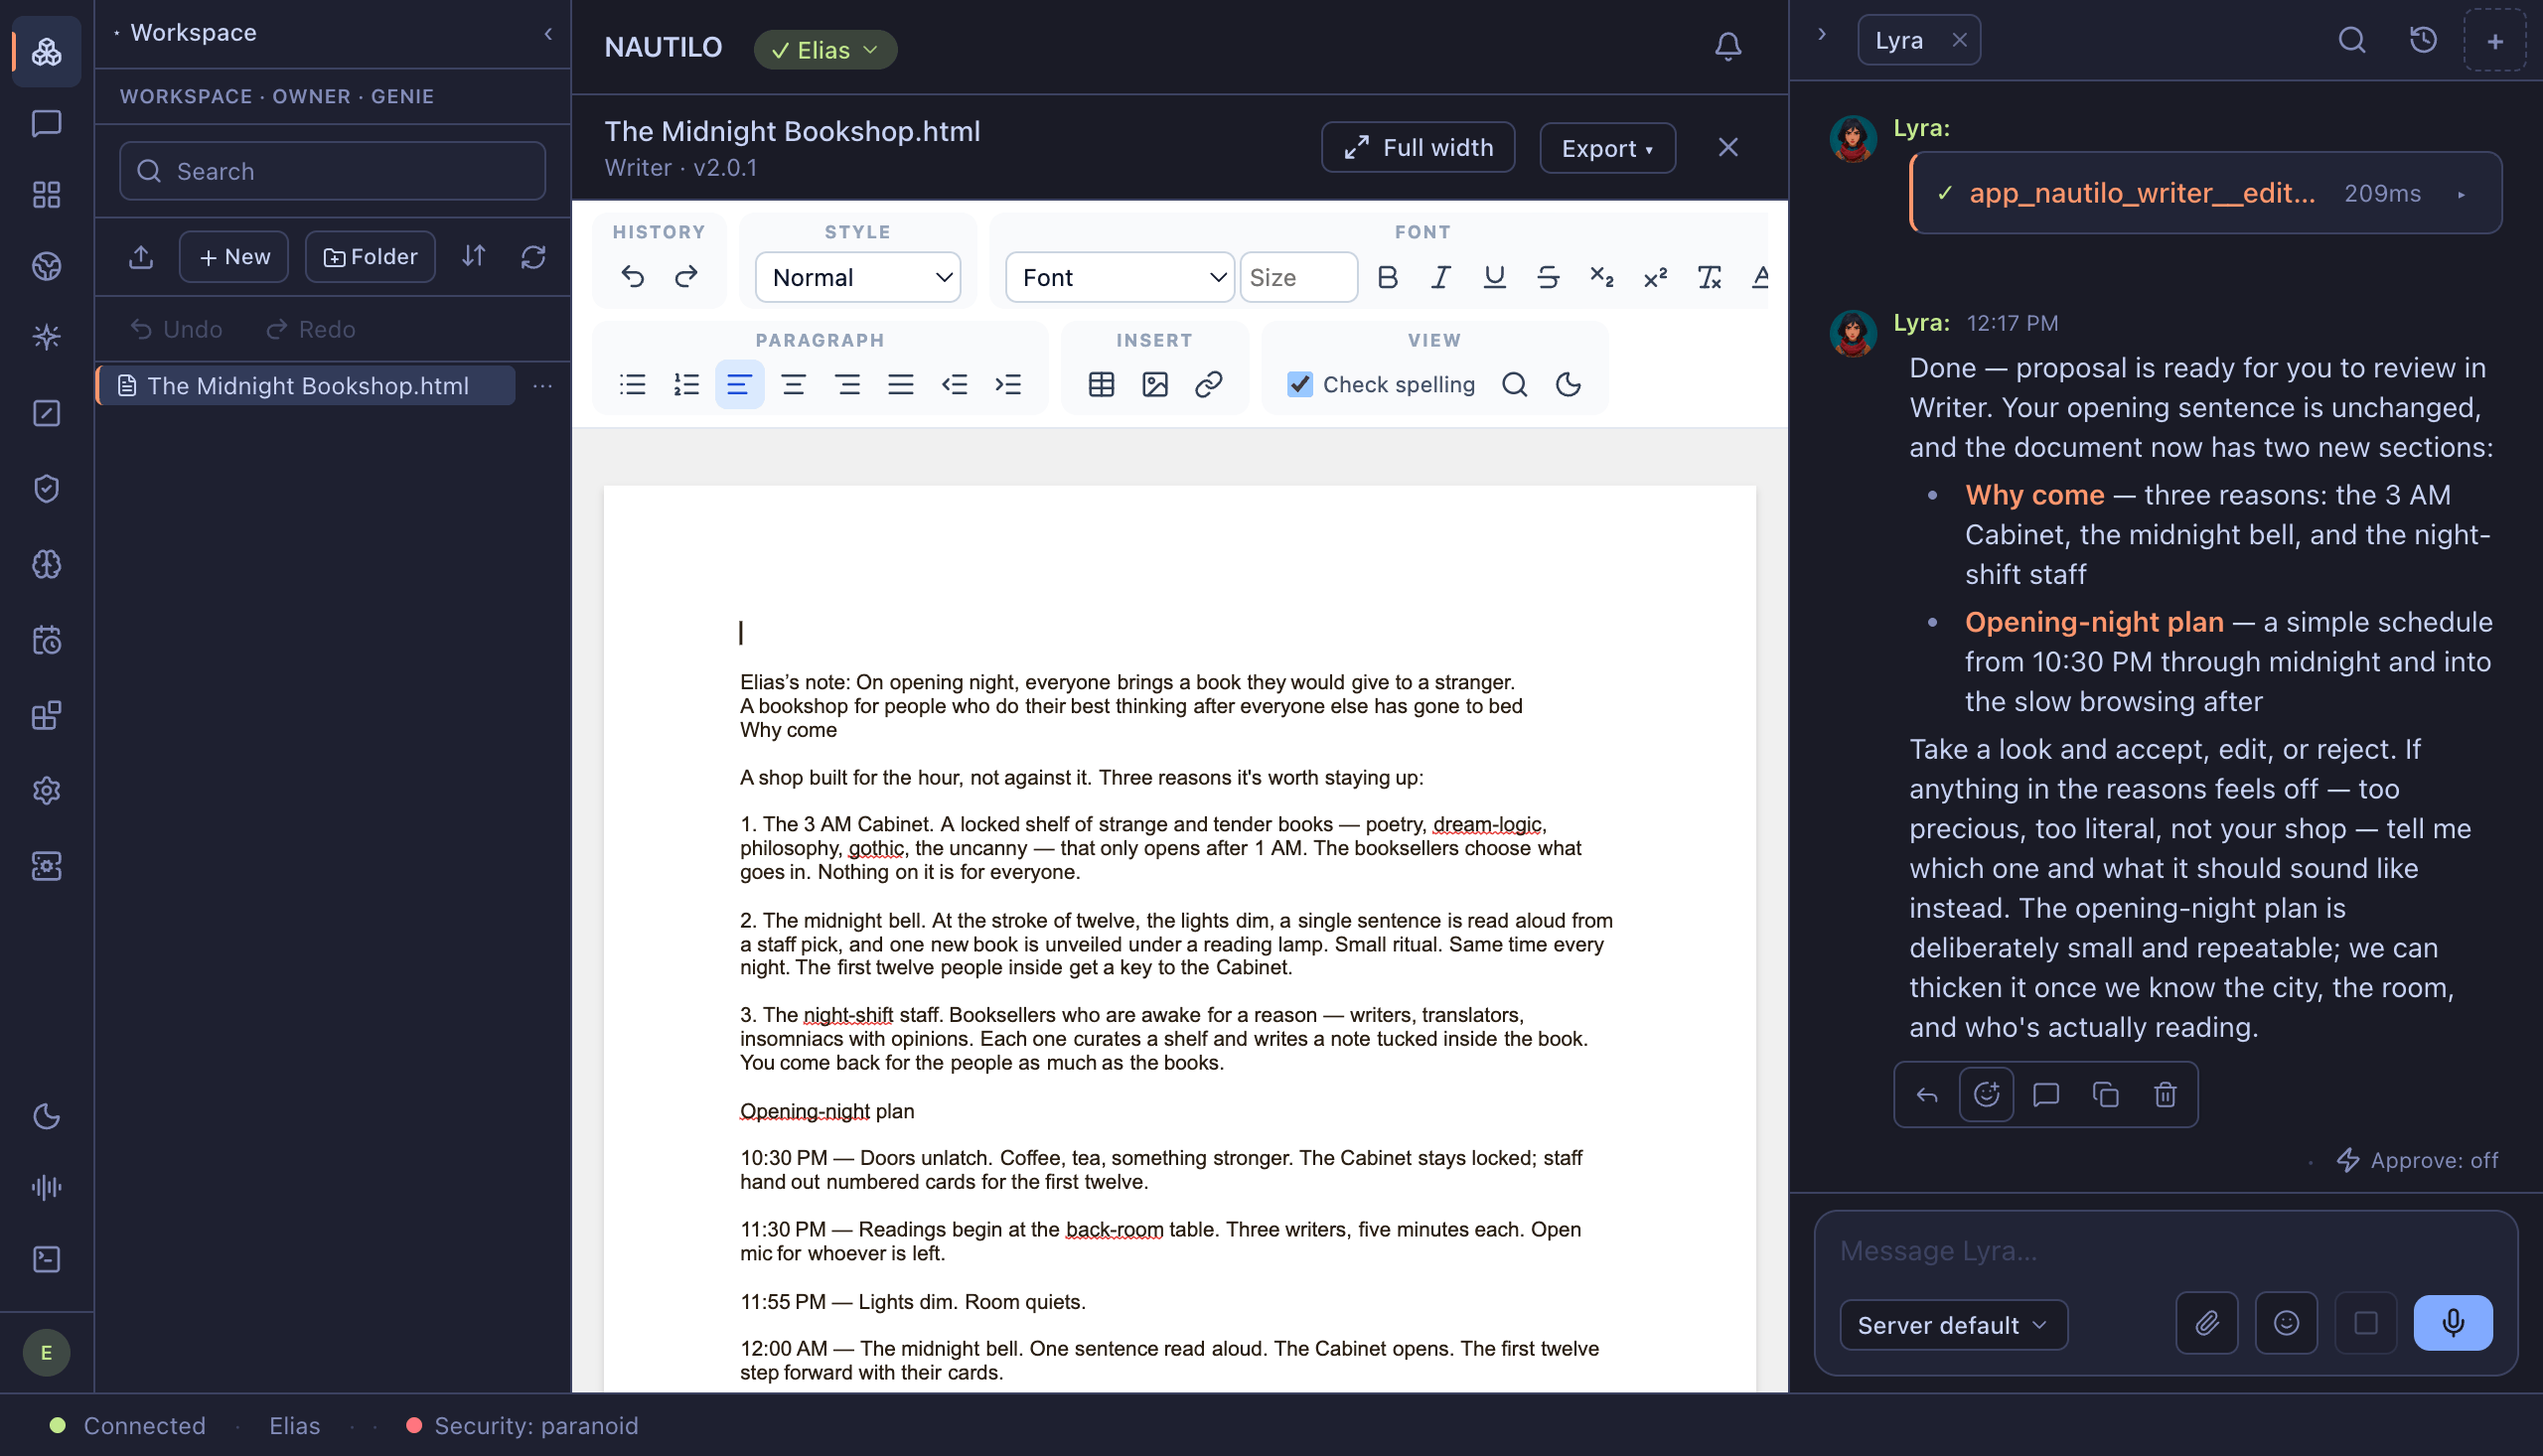
Elias’s first project is a one-page launch brief for his midnight bookshop. Use his idea or substitute your own.
-
Open Apps, find Writer, and choose New document.
-
Name it The Midnight Bookshop.html and choose Create. The document opens in Writer, saved in the current Workspace.
-
Write a starting sentence yourself: “A bookshop for people who do their best thinking after everyone else has gone to bed.”
-
Ask your Genie to help shape the document:
Help me turn the open Writer document, The Midnight Bookshop.html, into a one-page launch brief. Keep my opening sentence. Add three specific reasons to visit and a simple plan for opening night. Make the changes in the document so we can work on it together.
-
Review the proposed changes in Writer. Use Accept or Reject for each change, or Accept all to keep the batch. Then edit or add a sentence yourself.
-
Wait for Saved and close the document. Open Artifacts → Workspace, select your file, and choose Open in Writer. Your changes should still be there.
If your Genie describes a plan and stops, reply: “Go ahead and make those changes in the document.” Wait for the review controls before accepting.
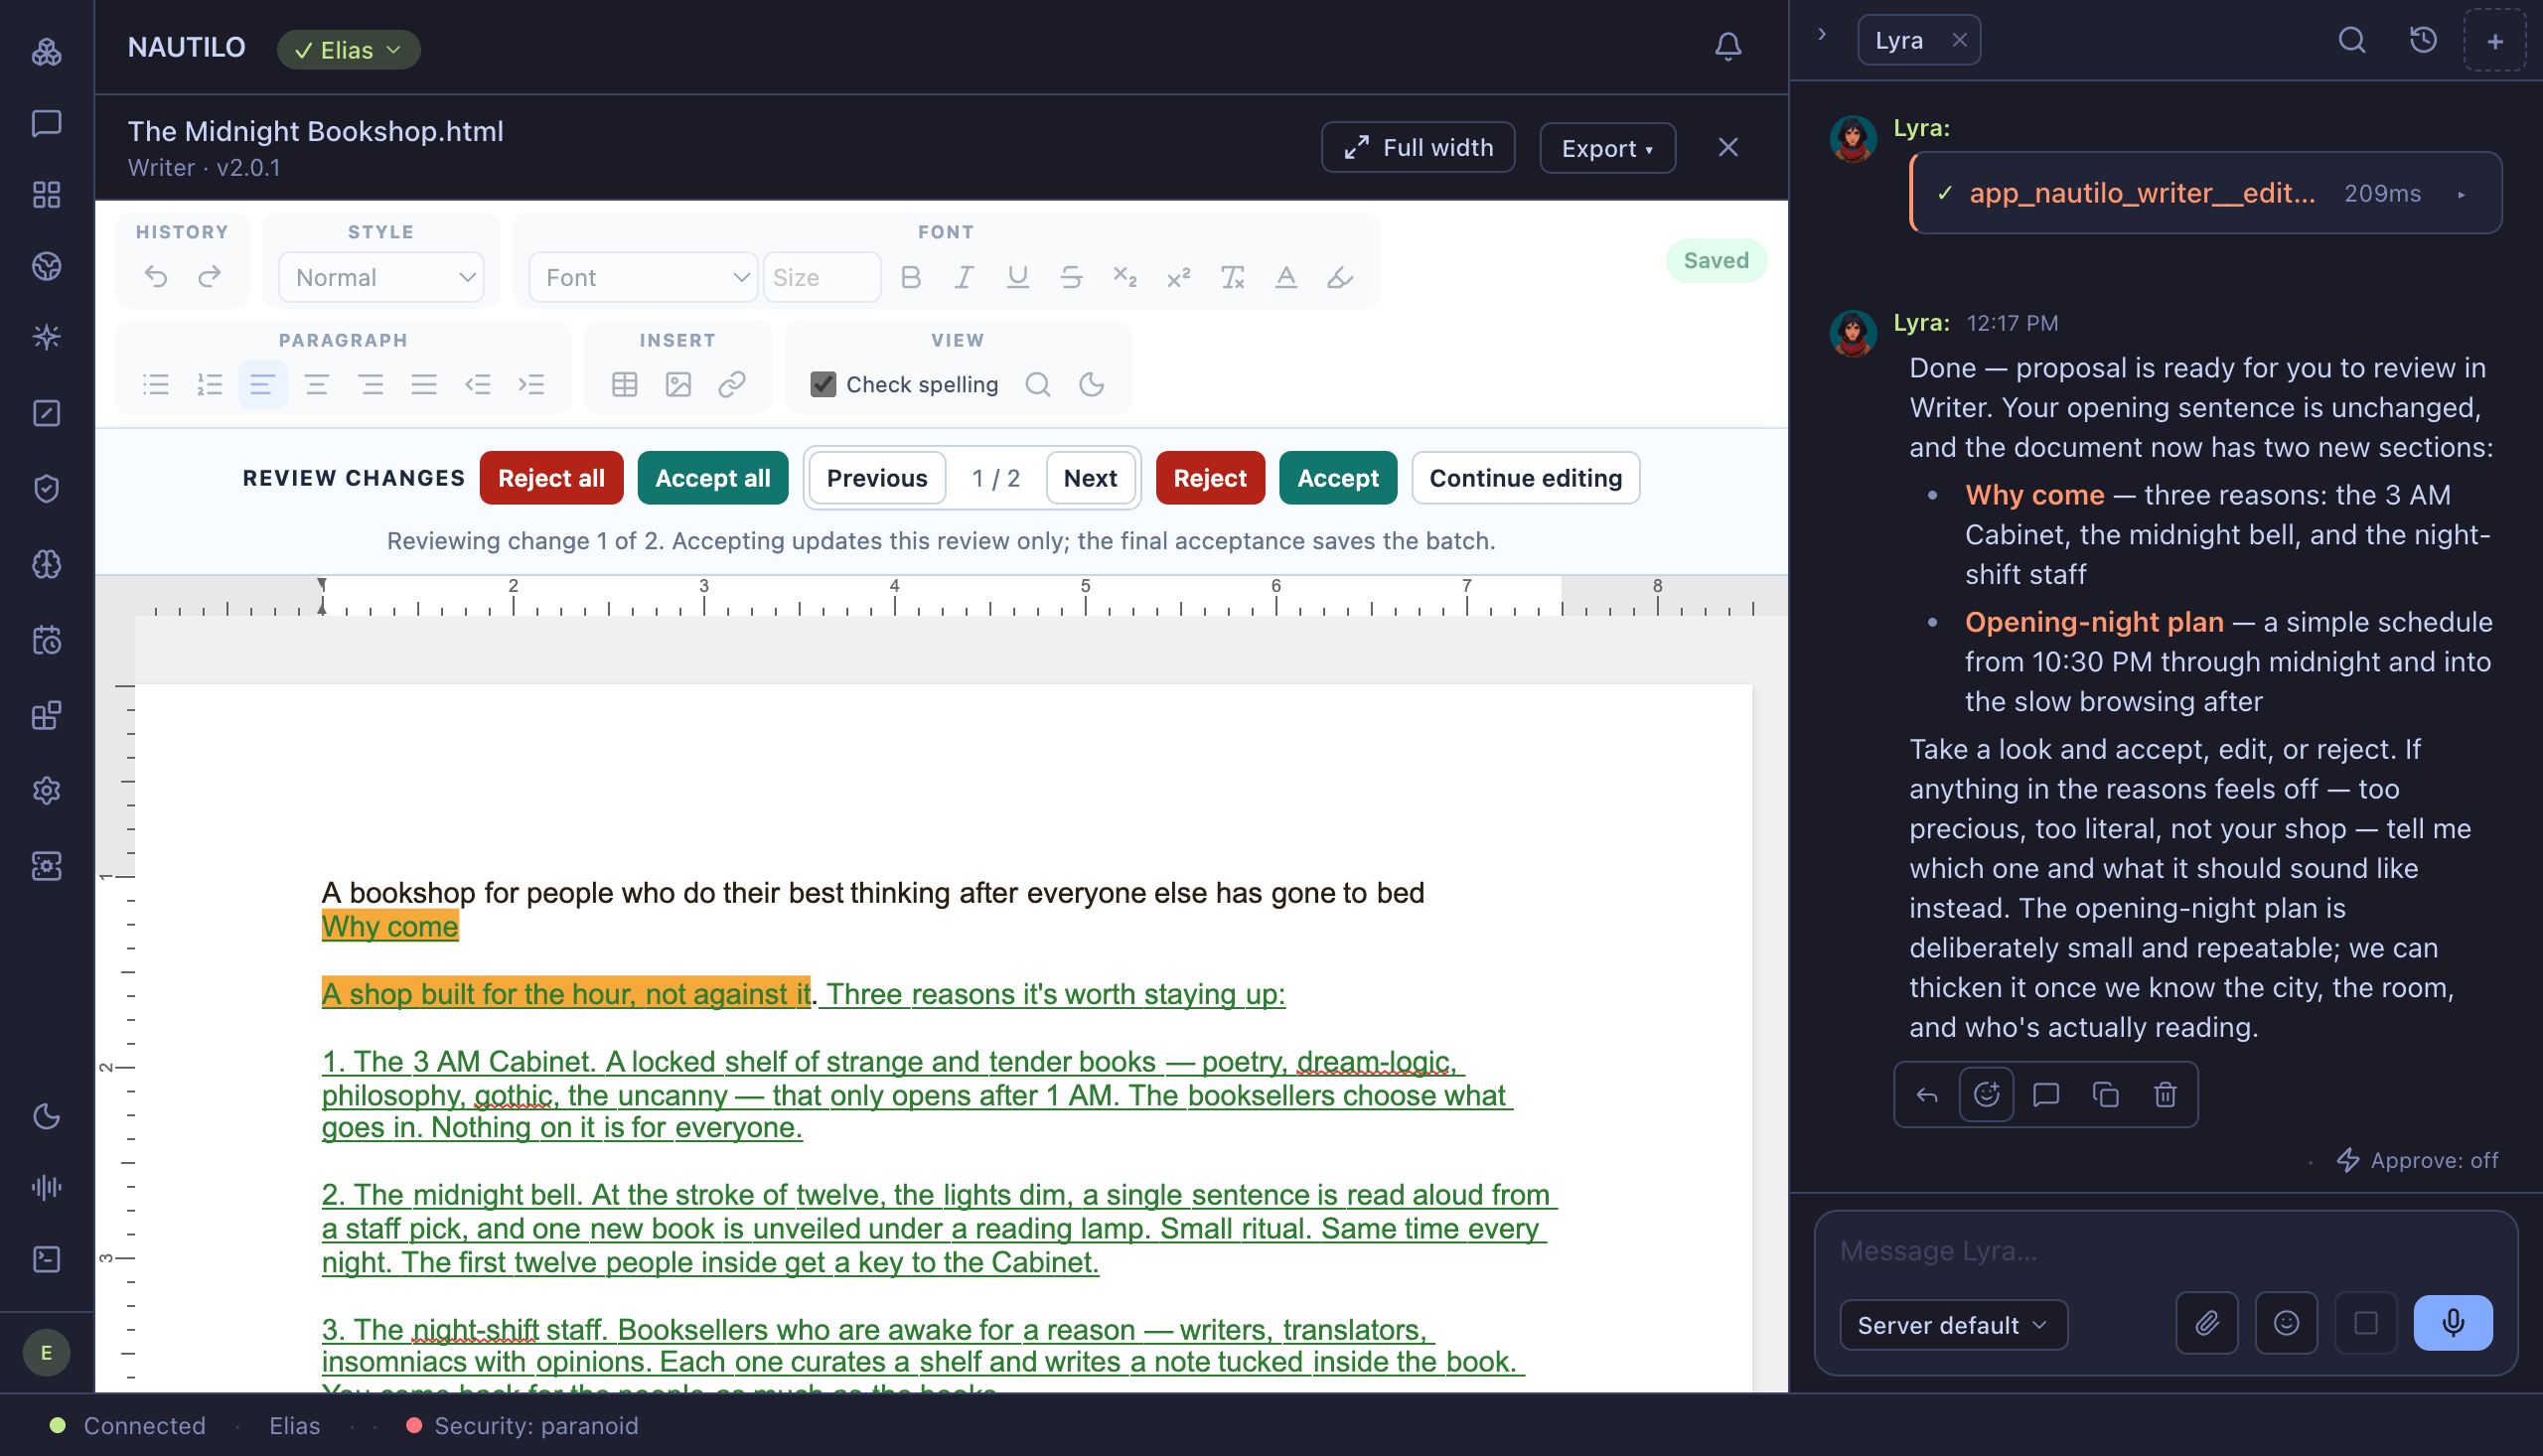
That is the full loop: you start something, your Genie helps, you take the controls, and the work is still there when you come back.
Now, bring your own idea
Write something worth reading
Draft, revise, and shape a document together.
Make it visual
Work with your Genie on a design, then move and change things yourself.
Explore the web
Set up browser tasks and give your Genie a concrete job.
Connect your tools
Add the services and working environments your next project needs.
Day two
Keep Docker Desktop running while you use this server. Your account, conversations, and Workspace documents live in its persistent volumes.
Check the server
~/.local/bin/nautilo status --profile elias-workshopStop without deleting your data
~/.local/bin/nautilo destroy --profile elias-workshopDespite the command name, this removes the running containers and preserves
the data volumes. Do not add --hard to a normal stop.
Start the same server again
~/.local/bin/nautilo restart --profile elias-workshop --fullSign back in with the same account. Your work should still be there.
For updates, follow Upgrade safely. Before your work becomes irreplaceable, set up backup and recovery.
Other setup paths
Using the downloaded TOML instead of browser claim
The steps above use browser setup. For unattended installation, use the protected setup file and the Docker Compose command.
A localhost address works only on this Mac. Replacing it with a network
address does not reconfigure the server’s sign-in endpoints. Use the separate
trusted-LAN guide or a
hosted deployment when that is your goal.